Quick Links
- Daniel Kroening
- SMT Lists/Sets/Maps
- Google groups:


The CPROVER plugin is a VSIX extension package for Visual Studio. It implements a graphical user interface for the CPROVER tools within the Visual Studio IDE.
The CPROVER plugin has been tested with the full versions of Visual Studio 2010 and 2012 (the free Express editions or any earlier versions of Visual Studio are not supported by the plugin). We furthermore assume that you already have one of the CPROVER tools (CBMC or SATABS) installed in a directory that is listed in the PATH environment variable.
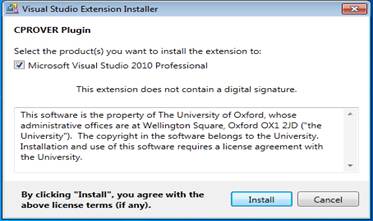
To install the plugin, download the file CPROVER_Plugin-2-0.vsix, and double-click it. When the dialog box below appears, click install (if the dialog box does not appear, your Visual Studio installation is broken or unsuitable).
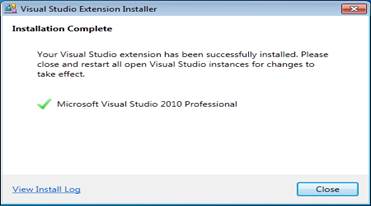
and then close, that's it.
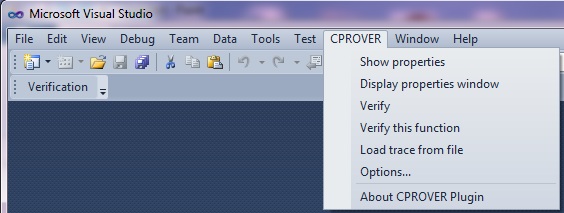
When you (re)start Visual Studio you should be able to see the new menu CPROVER.
To start, you need to create a new Visual Studio c/c++ project. Visual Studio gives you the option of creating it using existing source code (see the Visual Studio documentation).
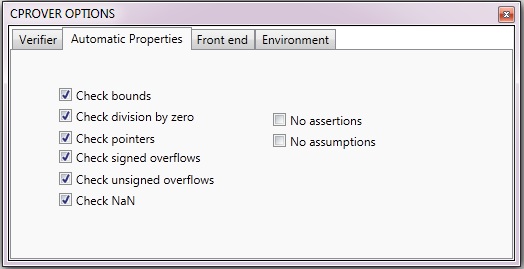
A property describes particular classes of behaviour of the program under test. These can be assertions that are part of the source code, or can be generated automatically by the CPROVER tools. You can select the kind of properties you want to check in the CPROVER → Options... dialog in the Automatic Properties tab.
Then select CPROVER → Show Properties. A new window with the title Properties will pop up. The window lists the properties that are relevant for the program under test.
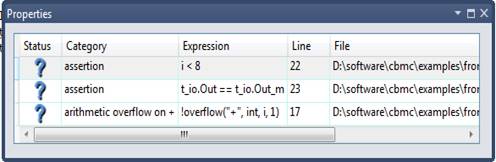
This window is dockable at any place in the Visual Studio IDE. When a claim is selected, the corresponding line in the source code is highlighted.
The fist column in the Properties window contains the status of the property. The status is one of the following:
 | The property has not yet been checked, i.e., the status of the property is unknown. |
 | The property is currently being checked, i.e., verification is running. |
 | The property is valid. |
 | The property has been shown to fail. |
Initially, the status of all properties is unknown.
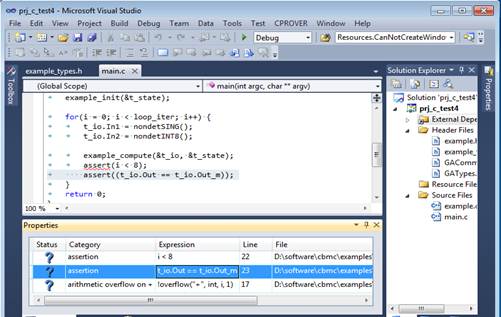
To check a specific property, double-click the
corresponding line in the Properties window. The status of the
property changes to running . There
are two possible outcomes:
..If the verification takes too long, it can be aborted by double-clicking the property a second time (the status of the property changes to unknown again).
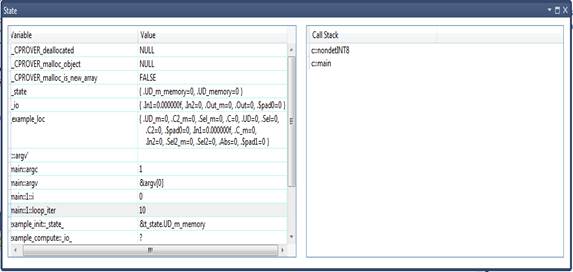
When a property is determined to fail, the analysis tool generates a diagnostic counterexample. The counterexample aids in understanding and ultimatively fixing the problem. Error traces are shown in the Trace Viewer window, shown below.

When navigating through the statements in the trace, the corresponding lines in the source code are highlighted. The buttons on the far left are used to expand any function calls in the trace, thus we can either step over functions or enter into them. Simultaneously, the program state (the variable values and the call stack) can be inspected in the State window.
In the use-case described above, properties
for the entire program are considered; traces are generated that
begin with the main() function.
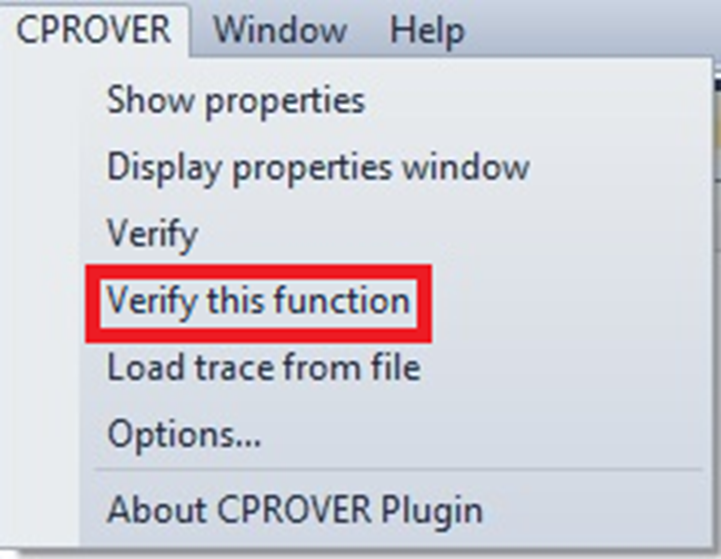
The CPROVER tools also allow checking assertions for a given function only, resembling the concept of unit tests. To perform verification for an individual function, first select the name of the desired function. Then chose Verify this function.

To uninstall the package, use Tools → Extension Manager, then choose CPROVER Plugin, and then click on the Uninstall button.